
Preparing a PDF Voucher for Cosmos
Reading time: 5 mins
Video
Full step by step video
Overview
This guide explains how to set up a PDF voucher for Cosmos.
Before you start
- Have the PDF voucher designed and ready
- Ensure you have Adobe Acrobat Pro installed
Step by Step
Open the PDF file in Adobe Acrobat Pro

Go to 'More Tools' on the right-hand side.

This brings up a page of extra tools available in Acrobat. Select 'Prepare Form'.
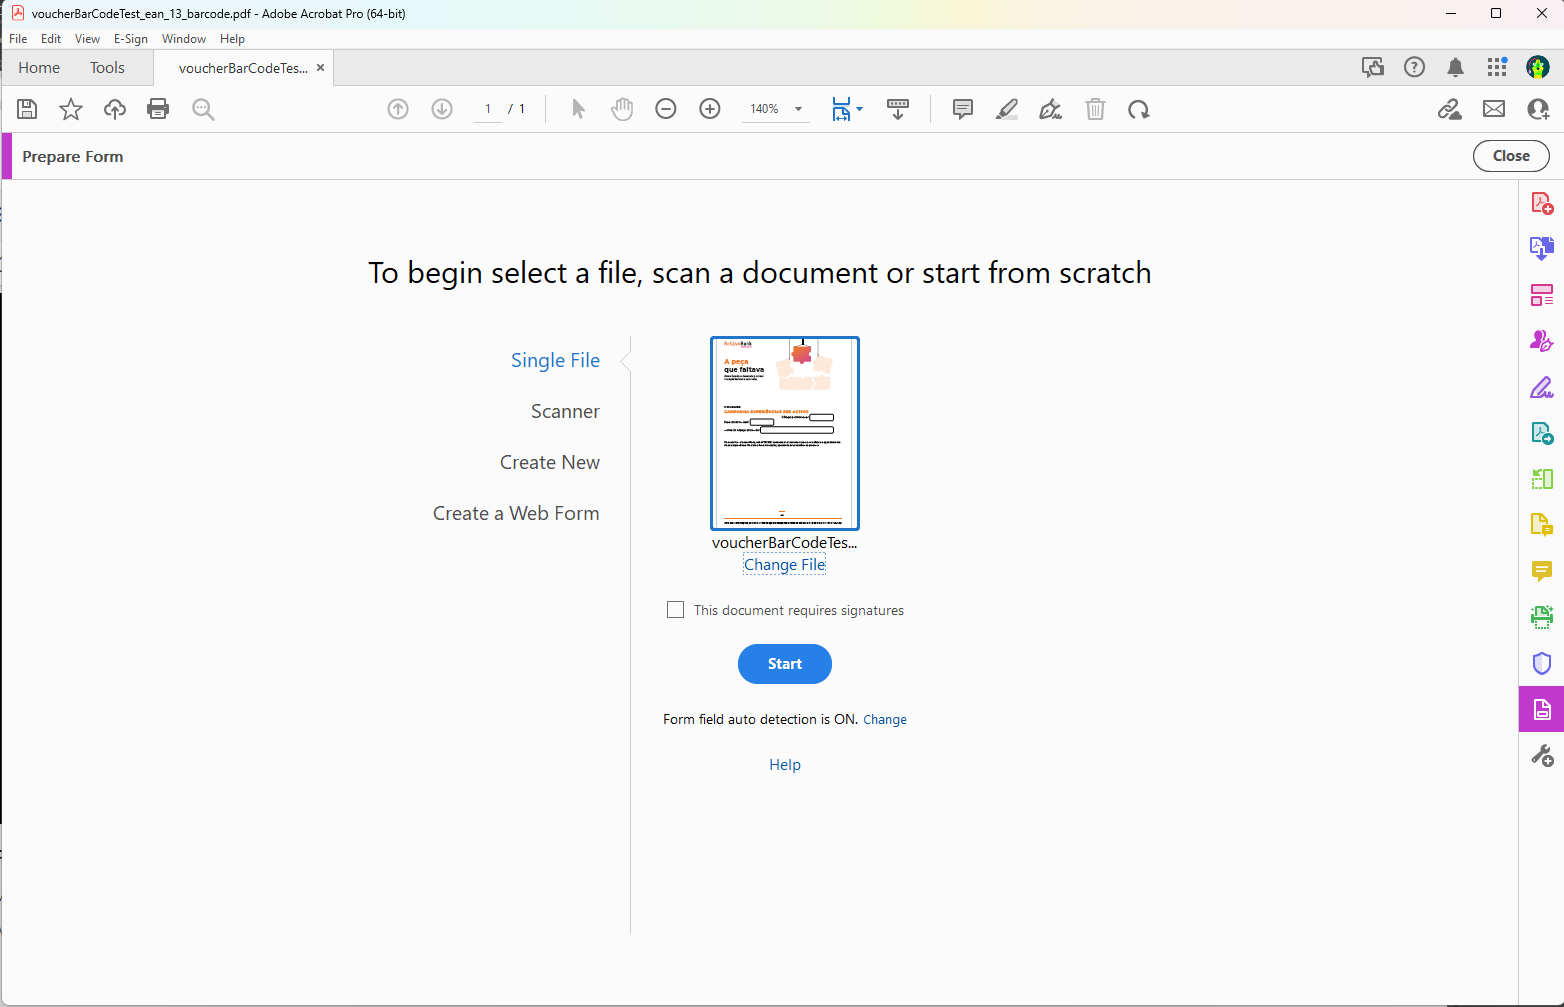
You may get a screen with the prompt "To begin, select a file, scan a document or start from scratch" and a thumbnail version of the PDF. Select the 'Start' Button.
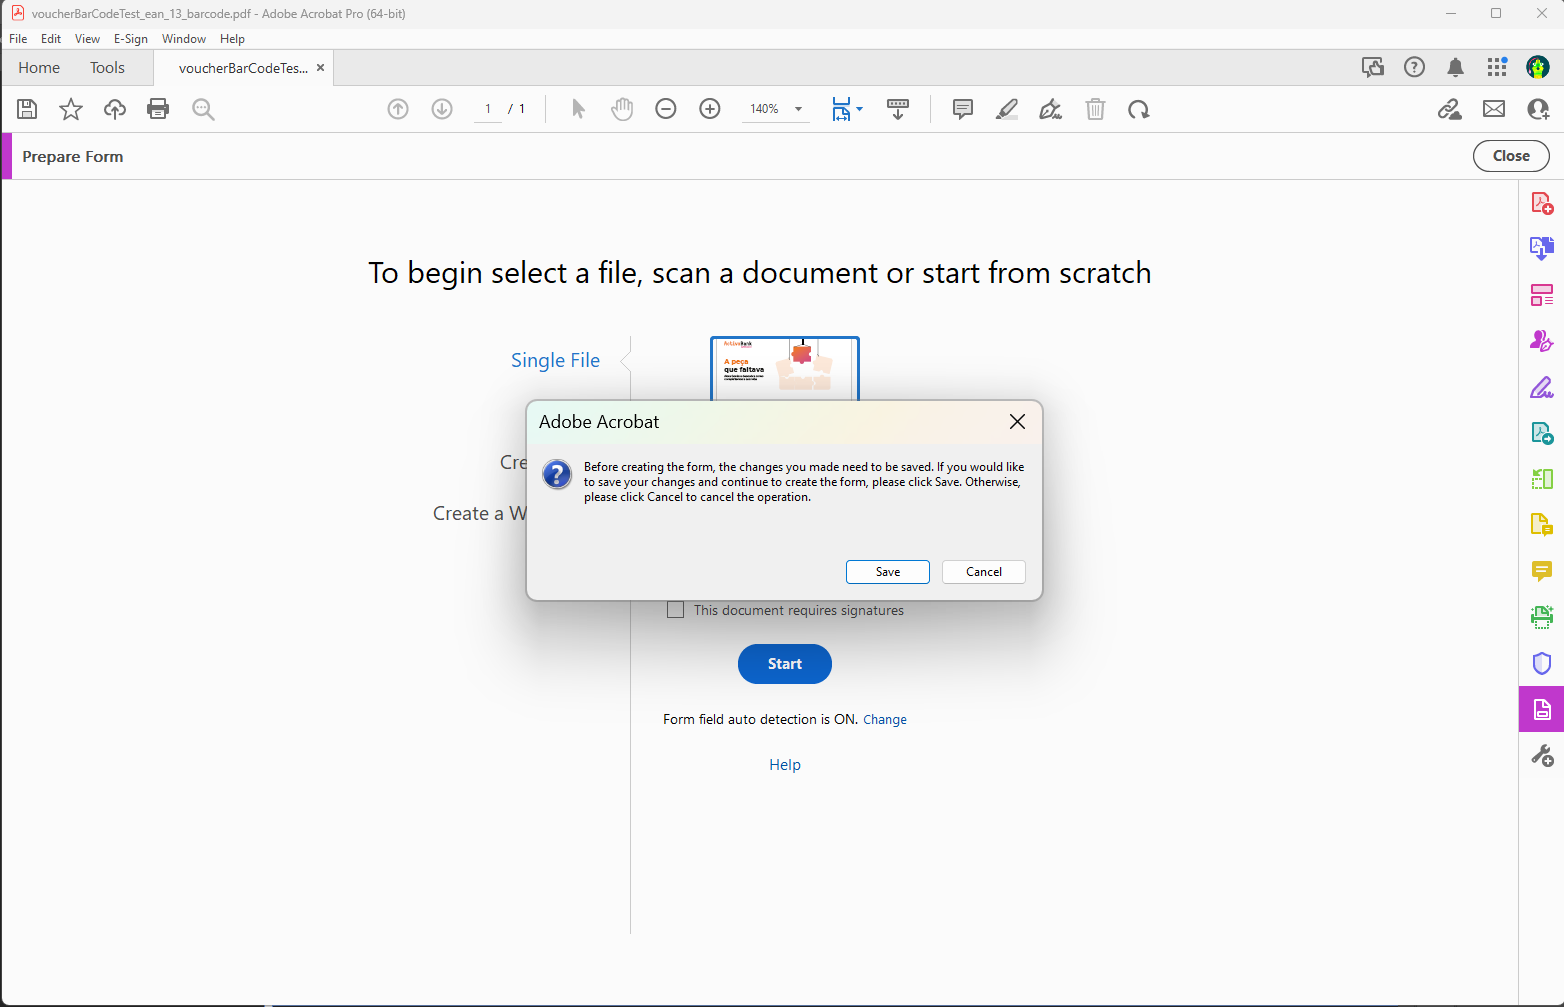
You may also get a message prompting you to save the PDF before creating the form. Select 'Save'
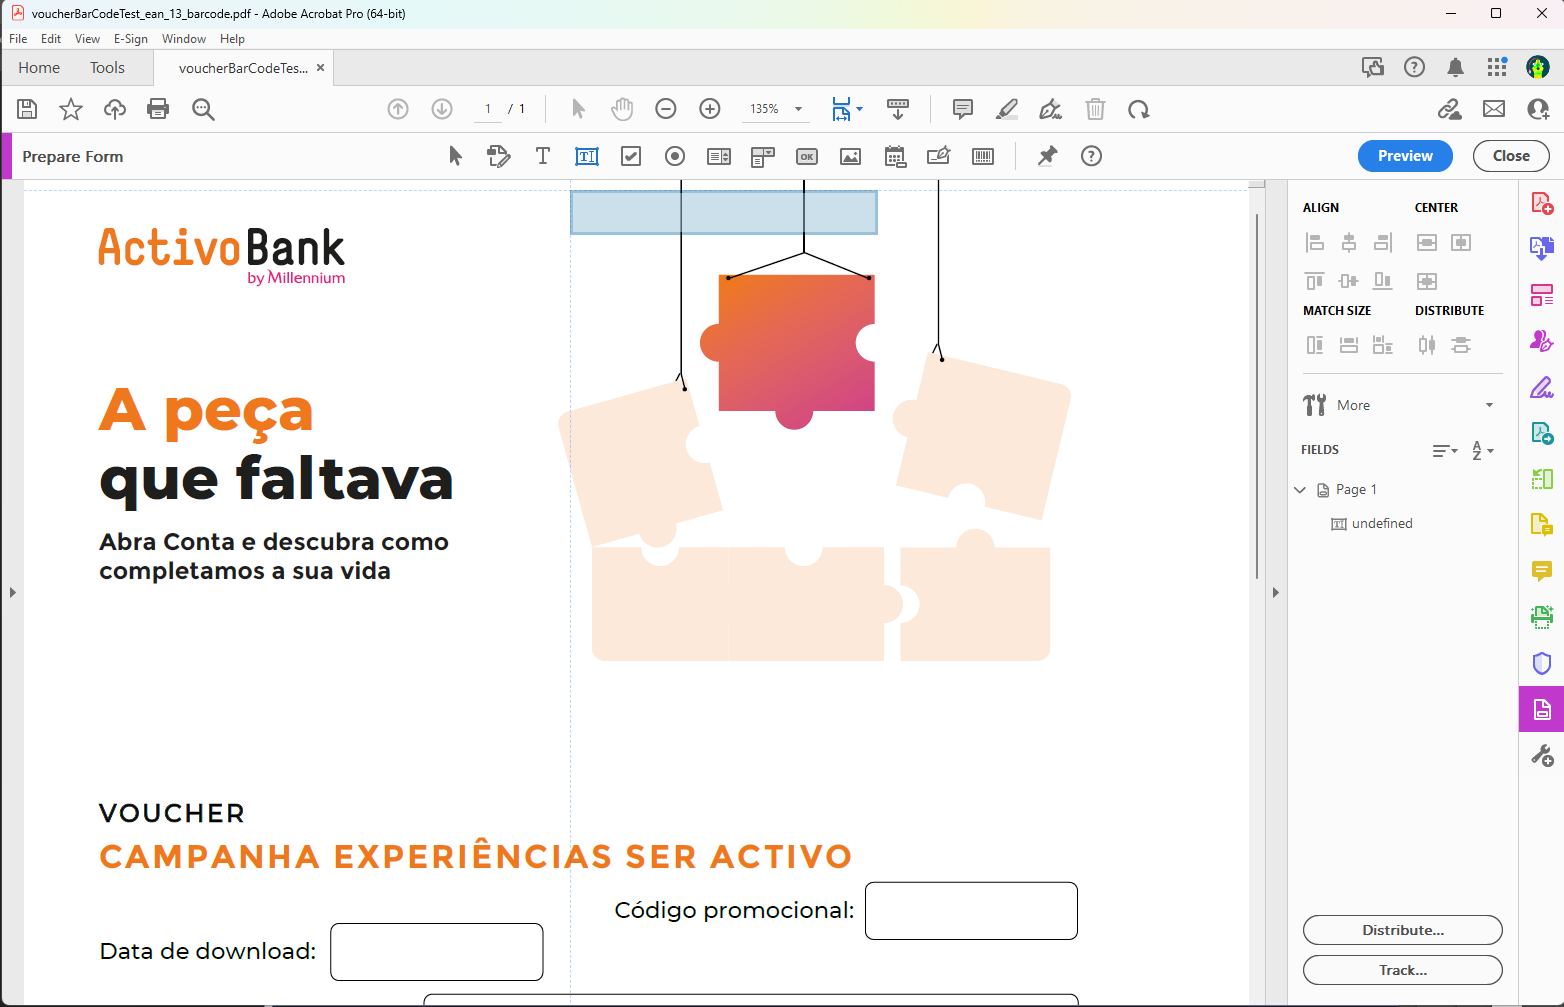
You are now in the 'Prepare Form' section. Find the 'Add a text field' button and select. This brings up a blue semi transparent box that moves with the cursor.
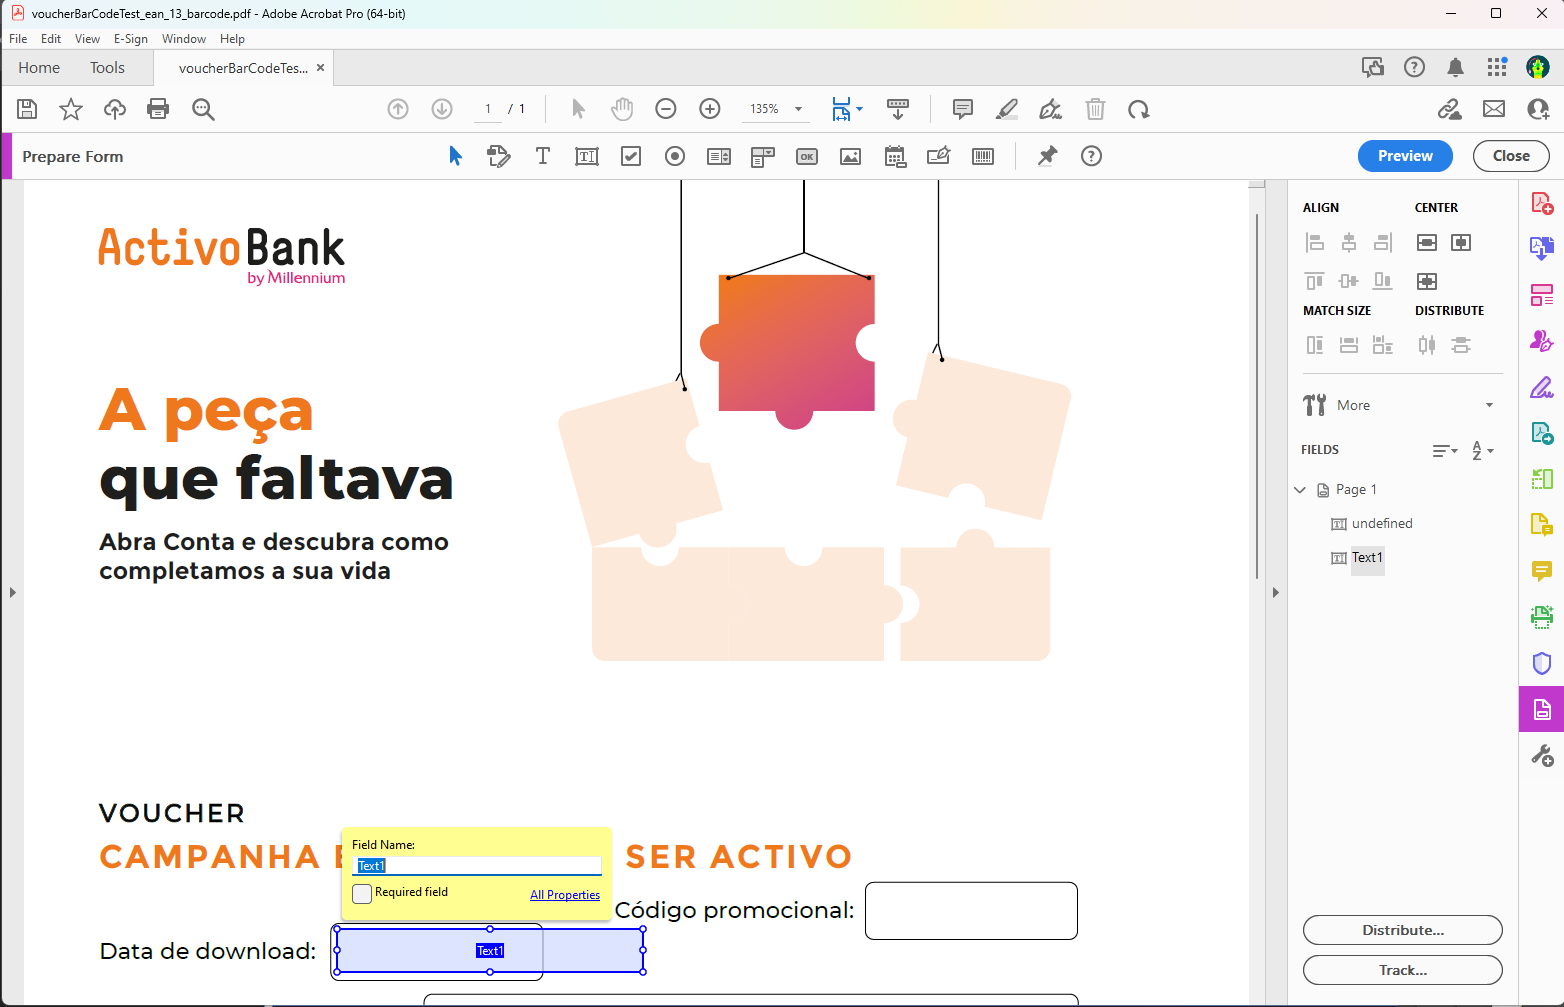
Move to the correct form field and click. A yellow box with the Field Name appears. Ignore this for now and adjust the shape of the text field to fit, dragging the corners to the correct shape.

Once the field is the correct shape, double click it. This brings up a Text Field Properties box. On the 'General' tab, fill out the Name field, then put the same for the Tooltip field. A full list of the Voucher Field Binder names are here: https://documentation.tlcworldwide.com/TLC/User-Guides/Cosmos-Builder/Voucher-Field--Binding-Names/
Also make sure the 'Read Only' check box is not ticked.
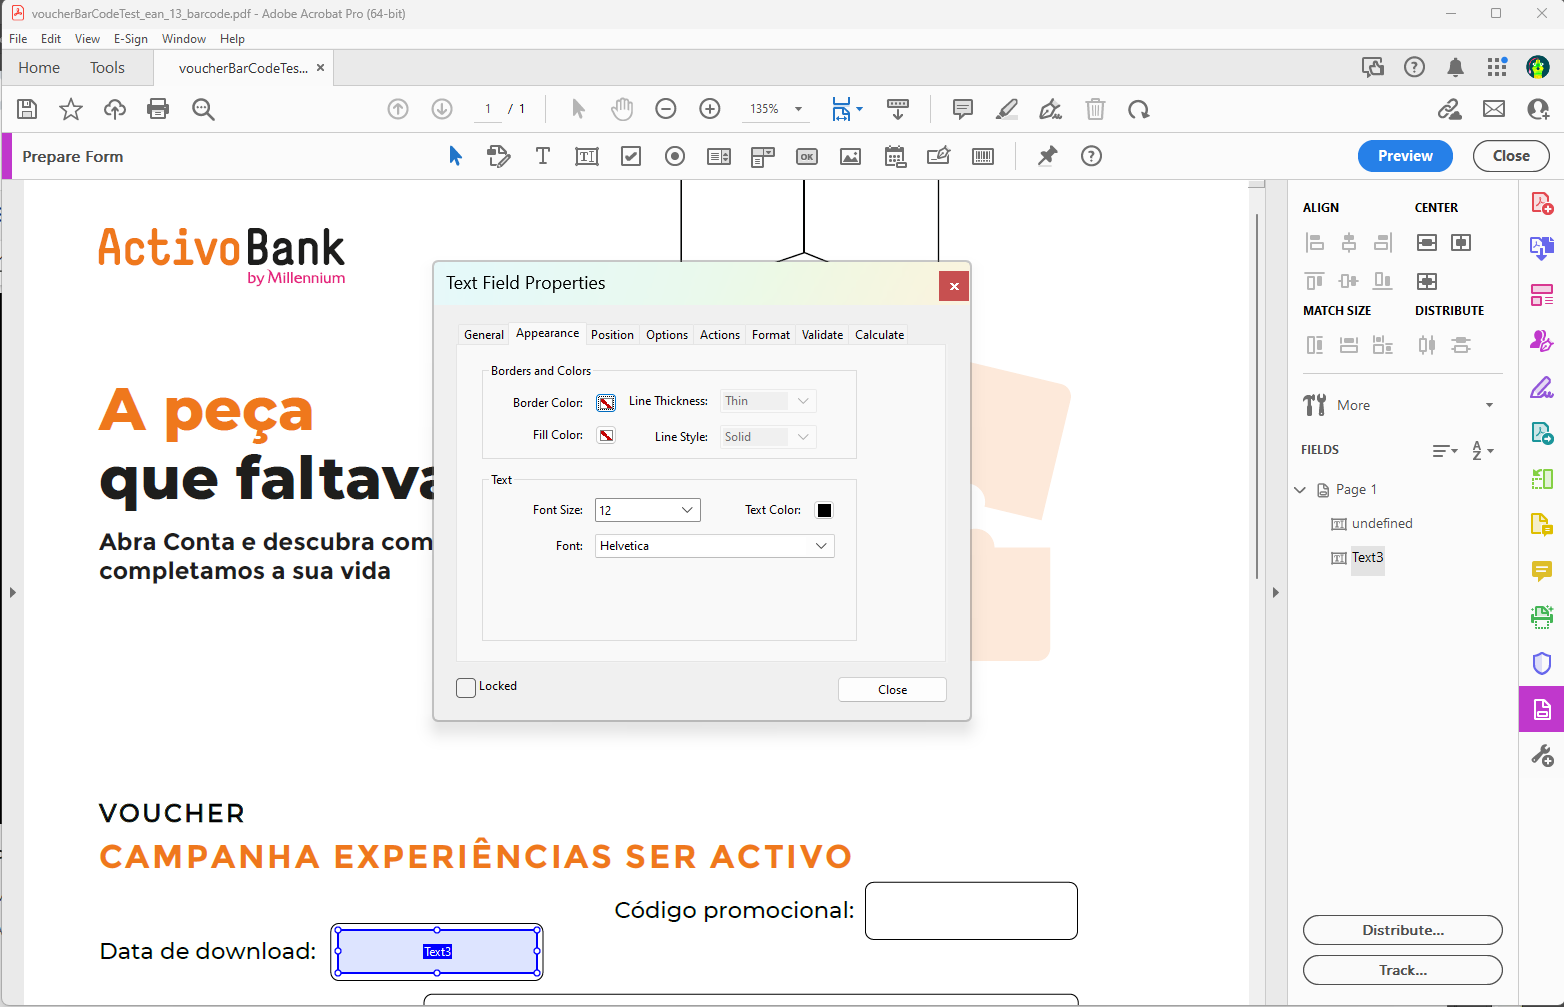
The next tab is 'Appearance' where you can adjust the thickness, colour and style of the border, as well as the background colour. With the example here, the Creative Department have already drawn the box for the form field, so the borders and the fills are switched off. You can also adjust the font, font colour and font size of the text that will appear in the field.
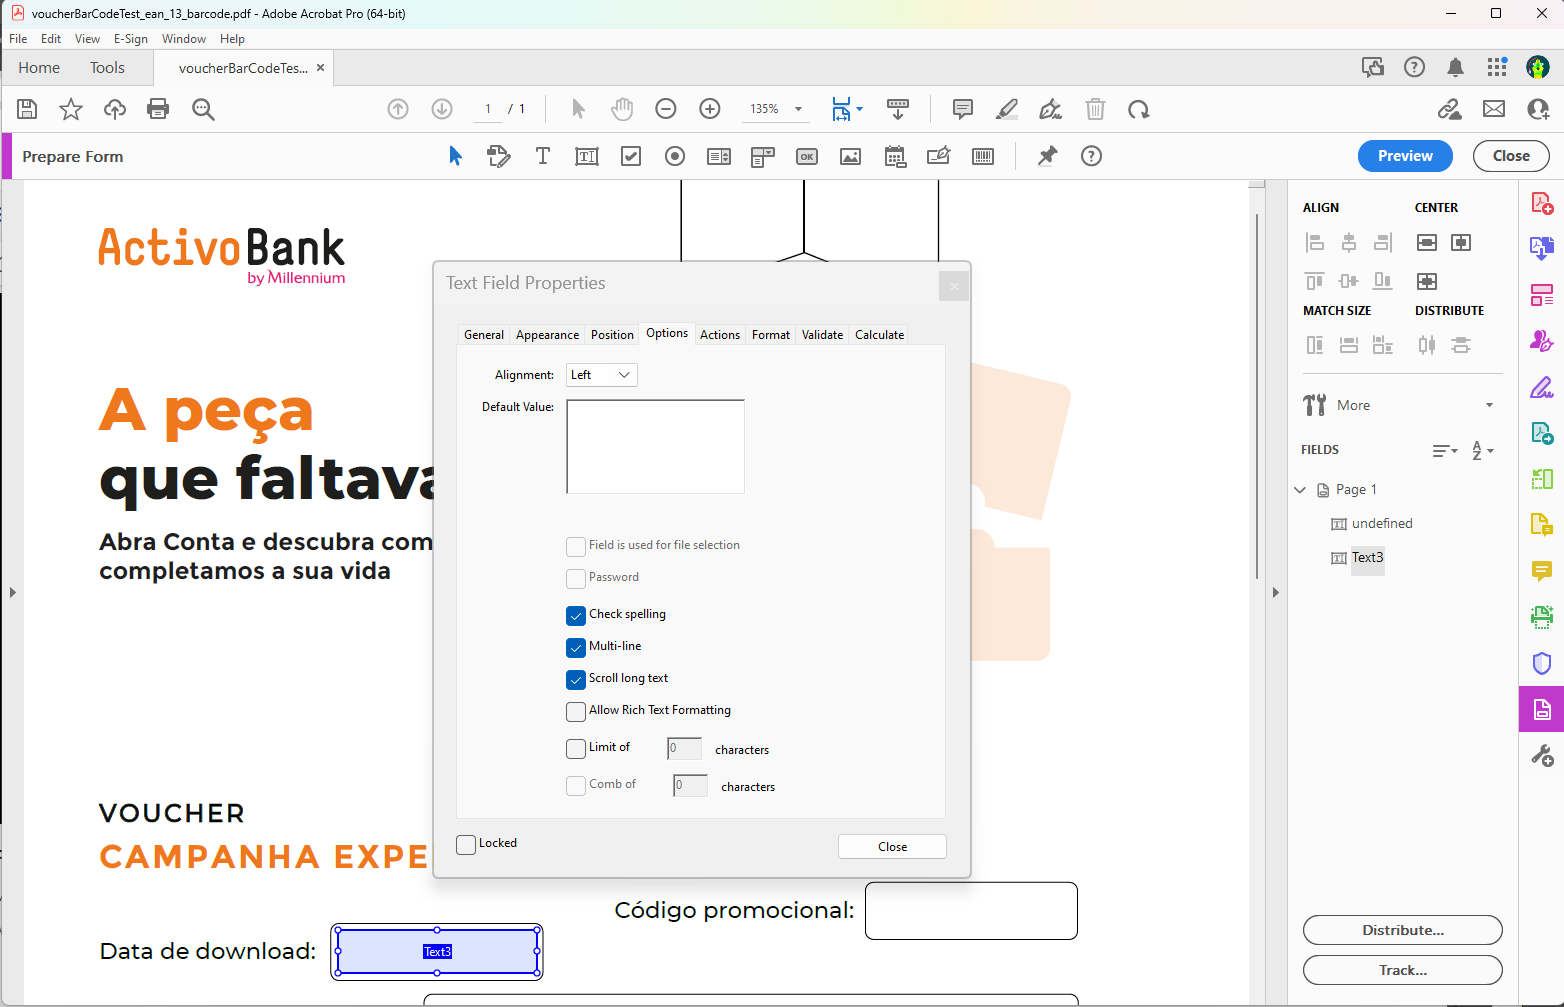
The last tab to look at is 'Options'. Here you can control how the text will sit inside the field. For example, with Terms and Conditions / Reward Details, it's a good idea to draw a larger box, select a smaller font size on the 'Appearance' tab and select the 'Multi-Line' check box on the 'Options' tab. This will make sure any long sentences go onto the next line instead of being cut off at the end of the field.
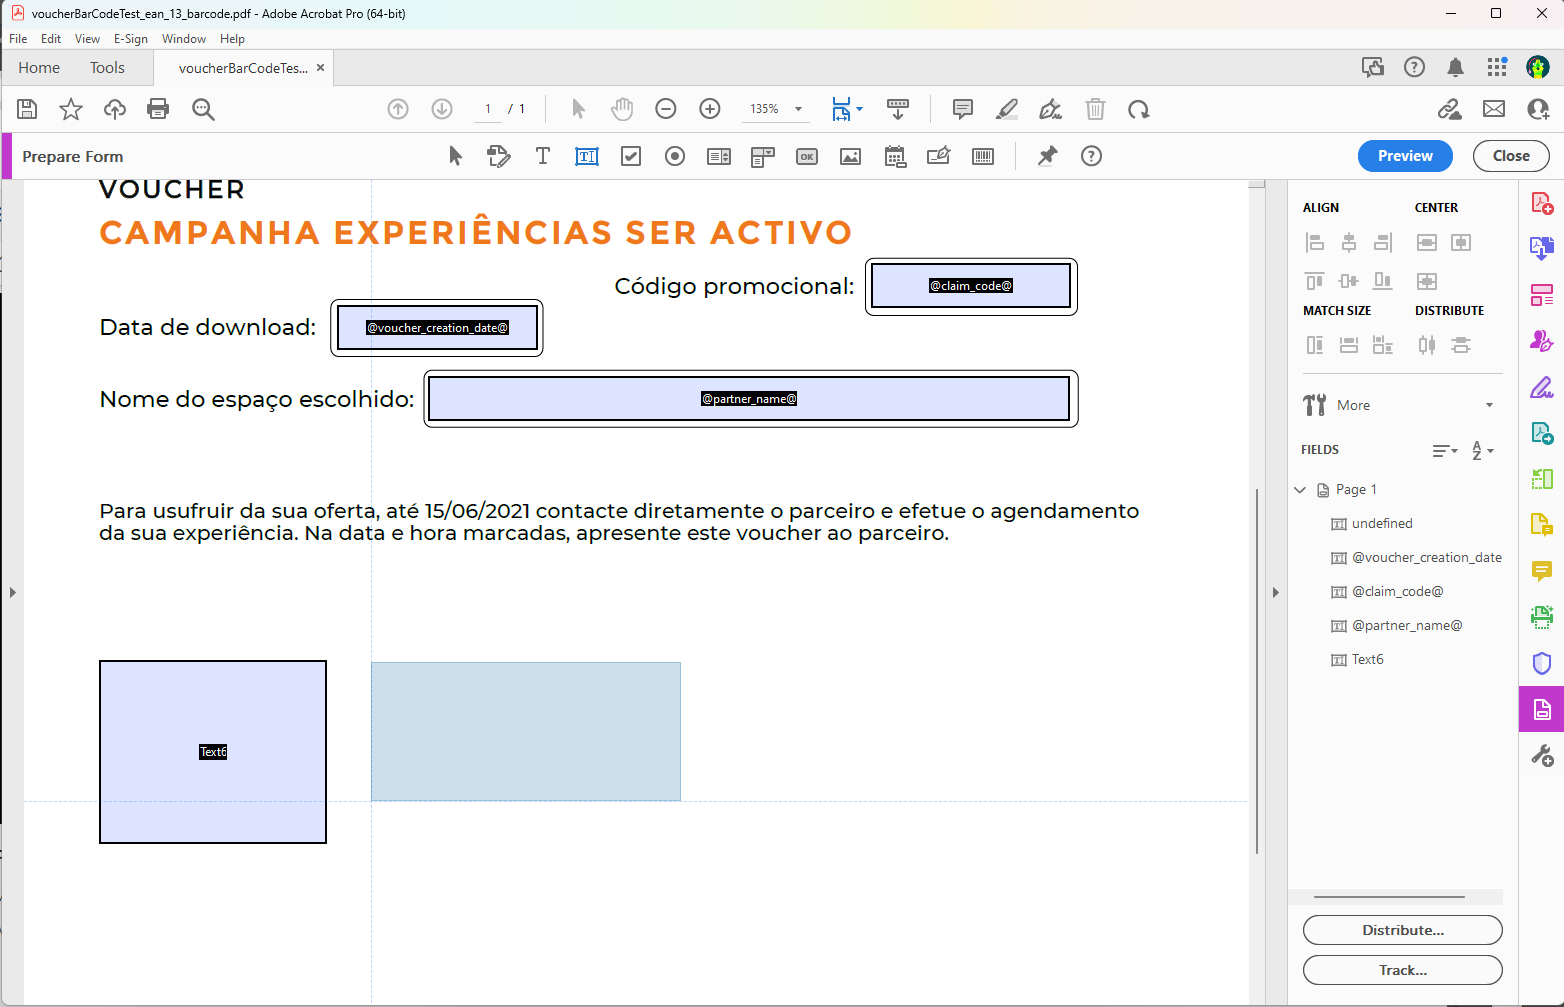
Repeat these steps for the other form field needed. If you need a QR Code or a Barcode, it's the same process, just make the boxes in roughly the right shapes - square for QR Code and Rectangle for Barcodes.
When finished, close the Prepare Form section and save the PDF.
See also
- Voucher Field Names: https://documentation.tlcworldwide.com/TLC/User-Guides/Cosmos-Builder/Voucher-Field--Binding-Names/